Hey there, DIY enthusiasts. Welcome to an exclusive behind-the-scenes glimpse into the construction of my media wall cabinet.
Let’s rewind the clock back nearly four years ago when the COVID-19 pandemic changed life as we knew it. With plenty of time on my hands and a long-standing dream of building a media wall, I seized the opportunity to bring my vision to life. Despite facing initial setbacks and delays, my determination remained steadfast as I dove headfirst into the meticulous planning phase.
Table of Contents
Step 1: Planning and Preparation
Four years ago, amidst the upheaval of the COVID-19 pandemic, I found myself with ample time and a long-standing dream of building a media wall. After careful consideration, I drafted detailed plans and made necessary adjustments to ensure precision in my design.
However, as the project gained momentum, so too did the challenges. With each new hurdle, I found myself grappling with the complexities of organization and preparation. Yet, amidst the chaos, a silver lining emerged – the chance to document my journey and share it with a wider audience. Thus, the idea of capturing my DIY escapades on camera was born, marking the inception of a new chapter in my creative journey.
Step 2: Procurement of Materials
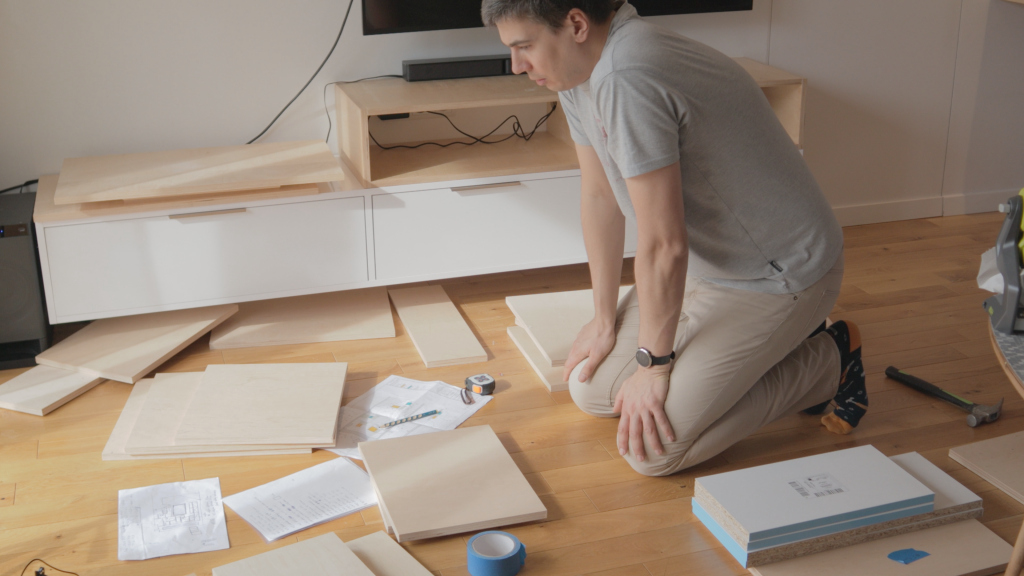
With plans in hand, I ordered pre-cut plywood boards to kickstart the construction process. This step required careful consideration of dimensions and quantities to avoid any unnecessary delays or setbacks.
Step 3: Assembly of Cabinets
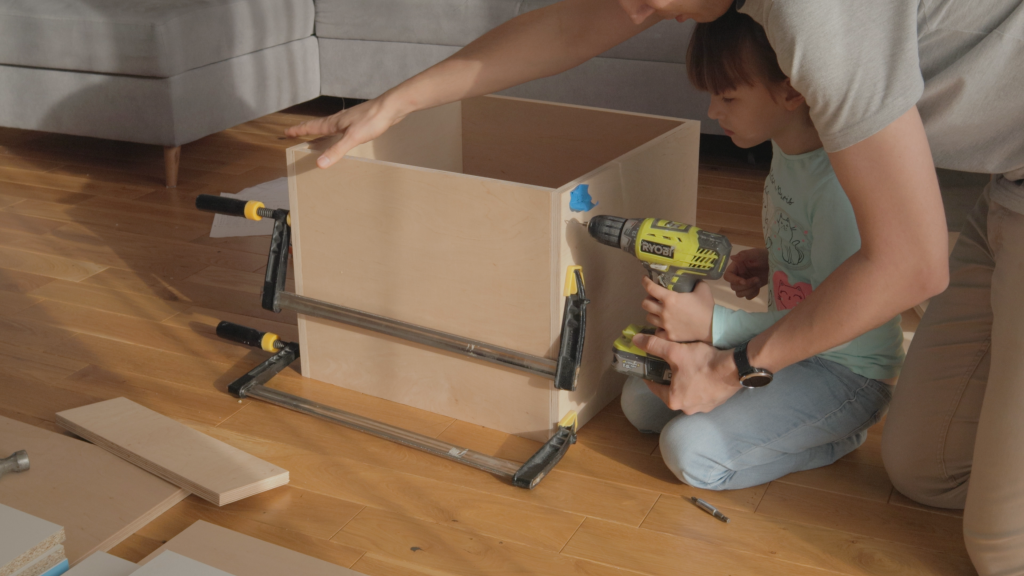
Armed with newfound inspiration, my daughter Gabi and I assembled the media wall’s first cabinet. From measuring and clamping to drilling and fitting, every step of the process was met with both excitement and trepidation. And though setbacks were inevitable, our unwavering determination propelled us forward.
a. Sorting and Organization: Begin by carefully sorting through the plywood boards and organizing them according to their designated cabinets. This step is crucial in ensuring efficiency and accuracy during assembly.
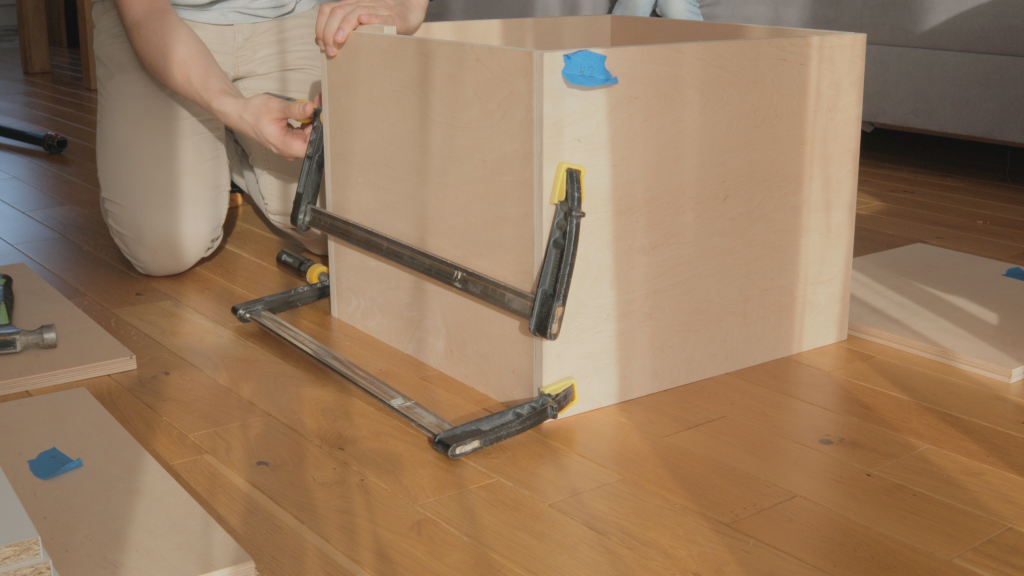
b. Measuring and Clamping: With the boards in place, carefully measure and clamp them together to ensure proper alignment and stability during assembly.
c. Drilling and Fitting: Utilize appropriate tools to pre-drill holes for screws and hinges, ensuring a secure and seamless fit for each component.
d. Involving Family: Make the project collaborative by involving family members, such as my daughter Gabi, whose enthusiasm and assistance proved invaluable throughout the process.
Step 4: Overcoming Challenges
a. Learning from Mistakes: Embrace setbacks as learning opportunities, such as the realization of the importance of meticulous planning and organization to avoid confusion and errors.
b. Adjustments and Adaptations: Remain flexible and open to making necessary adjustments along the way, whether it be minor tweaks to fittings or modifications to account for unforeseen challenges.
Step 5: Finishing Touches
As the dust settled and the final touches were applied, I stood back to admire my handiwork. Despite the inevitable flaws and imperfections, the media wall stood as a symbol of accomplishment and collaboration. As I looked towards the future, I eagerly anticipated the next chapter in my DIY adventures, inviting viewers to join me on this ever-evolving journey.
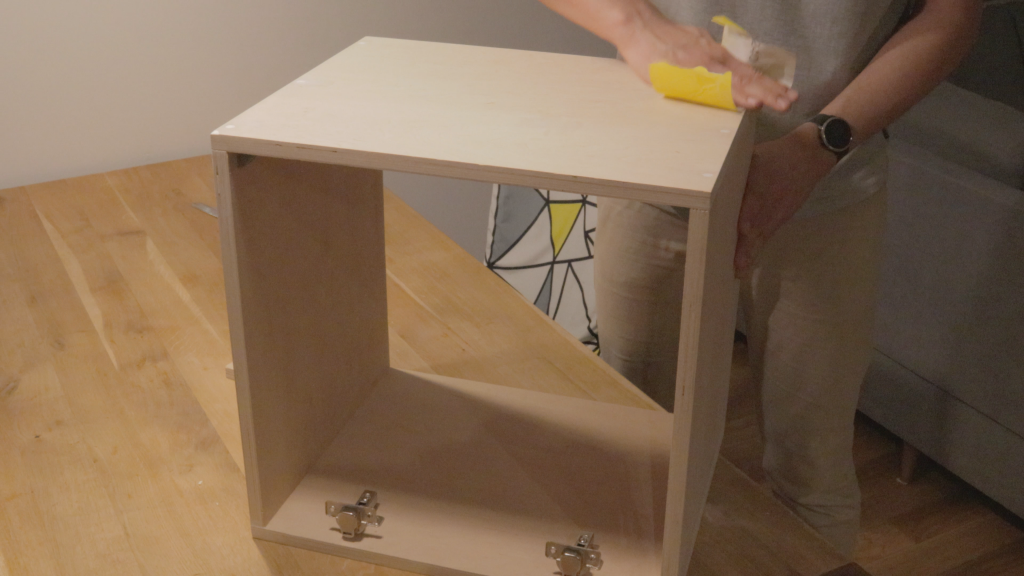
a. Sanding and Caulking: After assembly, meticulously sand down any rough edges and apply paintable caulk to ensure a smooth and polished finish.
b. Cleaning and Preparation: Prior to painting, thoroughly clean the surface with mineral spirits to remove any dust or debris, ensuring optimal adhesion and longevity of the final finish.
Step 6: Reflection and Celebration
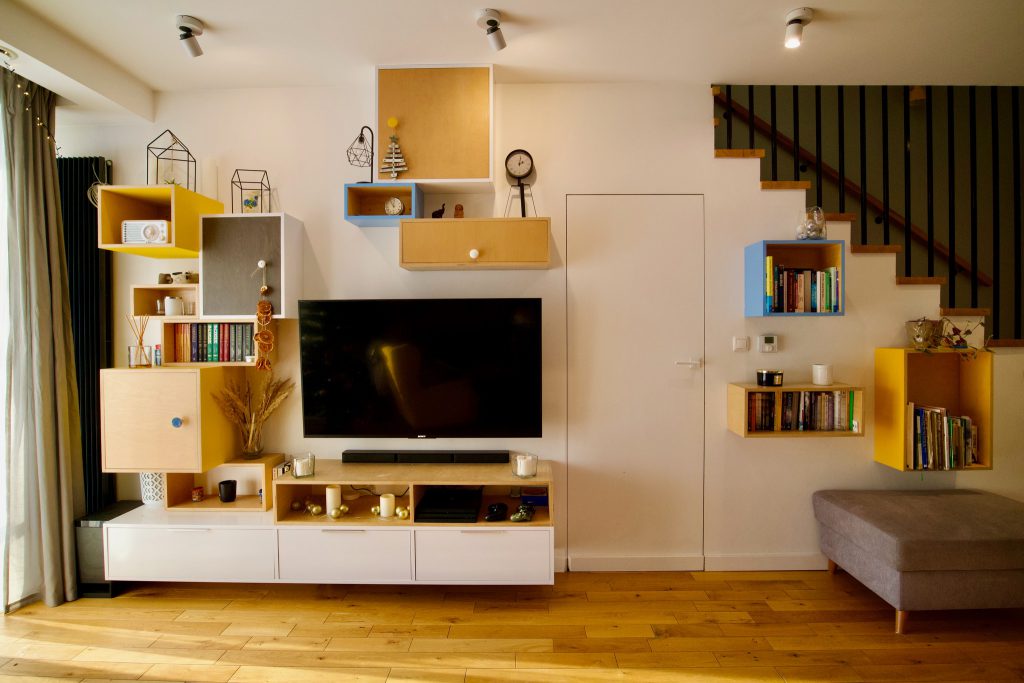
Upon completion of the media wall, take a moment to reflect on the journey and celebrate the achievements despite any imperfections or setbacks encountered along the way.
As the project neared completion, I reflected on the invaluable lessons learned along the way. From the importance of meticulous planning to the art of embracing imperfection, each misstep served as a valuable teaching moment. And while the end result may not have been flawless, it stood as a testament to the power of perseverance and creativity.
Step 7: Future Endeavors
Looking ahead, I eagerly anticipate future DIY projects and adventures, inviting viewers to join me on this ever-evolving journey of creativity and craftsmanship.
So, what’s next for Trees and Roots? The possibilities are endless with promises of more exciting projects on the horizon. Whether you’re a seasoned DIY aficionado or a novice enthusiast, there’s something for everyone to enjoy in the world of do-it-yourself craftsmanship.
As I bid farewell to this whirlwind tour of creativity and construction, I’m reminded that the true magic lies not in perfection but in the journey itself. So here’s to embracing the challenges, celebrating the victories, and never shying away from a good old-fashioned DIY adventure.
Thanks for joining me on this incredible ride, and until next time, happy building!